
Table of Contents
1. Introduction to caravan extension tents
2. Choosing the best caravan extension tent for extra space
3. Setup, installation and maintenance of your extension tent
4. caravan extension tent FAQ
5. Conclusion: practical takeaways for smarter space on the move
Introduction to caravan extension tents

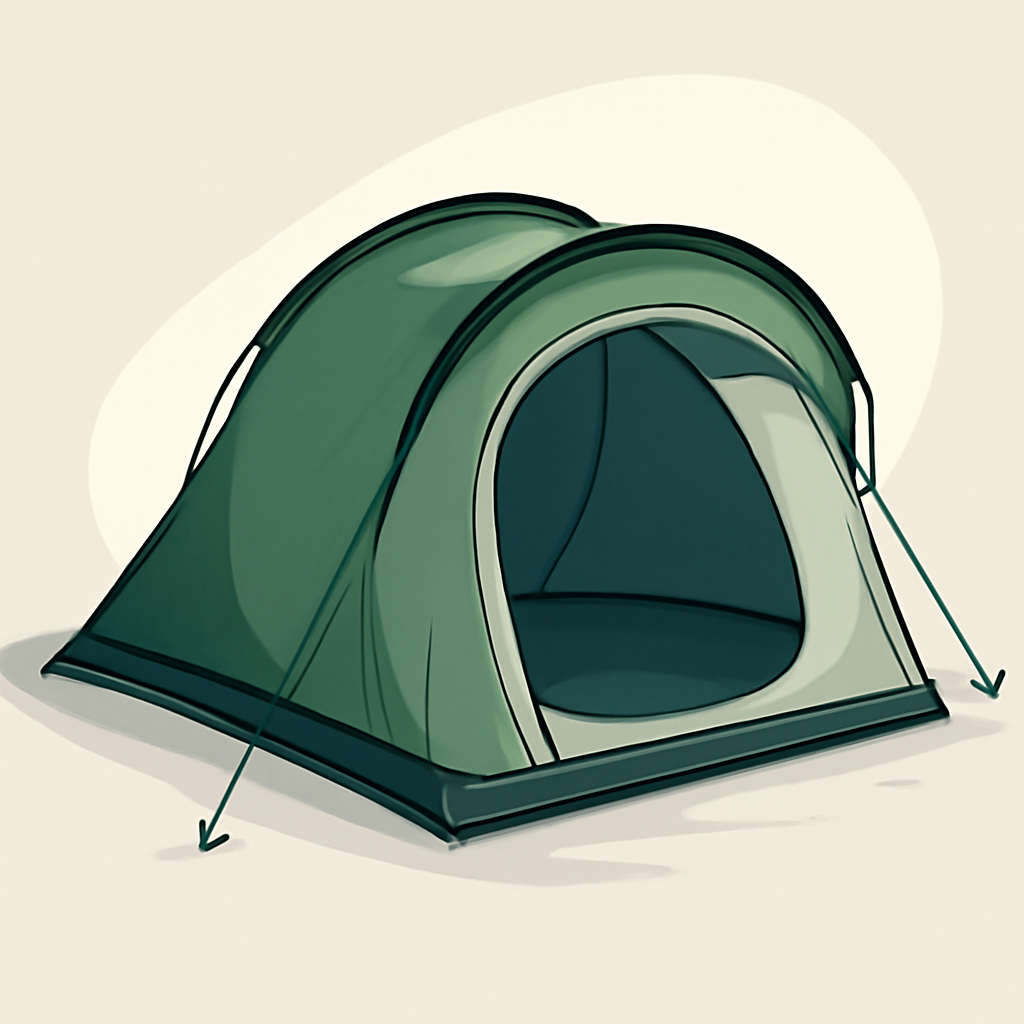
caravan extension tents add usable space at the campsite without needing a second vehicle. They extend living and storage areas, letting you cook, relax, and store gear close to the caravan for easy access. For family trips and longer getaways, an extension tent improves comfort, organization, and the flow between indoors and outdoor living while keeping essential amenities within reach. The right setup supports shared spaces, privacy, and efficient packing, making campsite mornings smoother and evenings more enjoyable.
Why a caravan extension tent adds space
Adds living or storage space without a secondary vehicle
Keeps essential living areas close to your caravan for easy access
Understanding common forms: caravan awning, annex, and porch tent
Awning for caravan vs. standalone annex vs. porch tent
Weather resilience, setup complexity, and typical use cases
Choosing between an awning for caravan, a standalone caravan annex, a porch tent, or a motorhome extension tent depends on climate tolerance, setup time, and use. A caravan annex with an interior room creates sleeping or privacy zones while keeping the main living area connected to the van. For weather, look for reinforced seams, UV-stable fabric, and solid pegs; in mild camps, simpler porch tents save weight and setup effort. This framework helps you choose the best caravan extension tent for extra space.
Choosing the best caravan extension tent for extra space
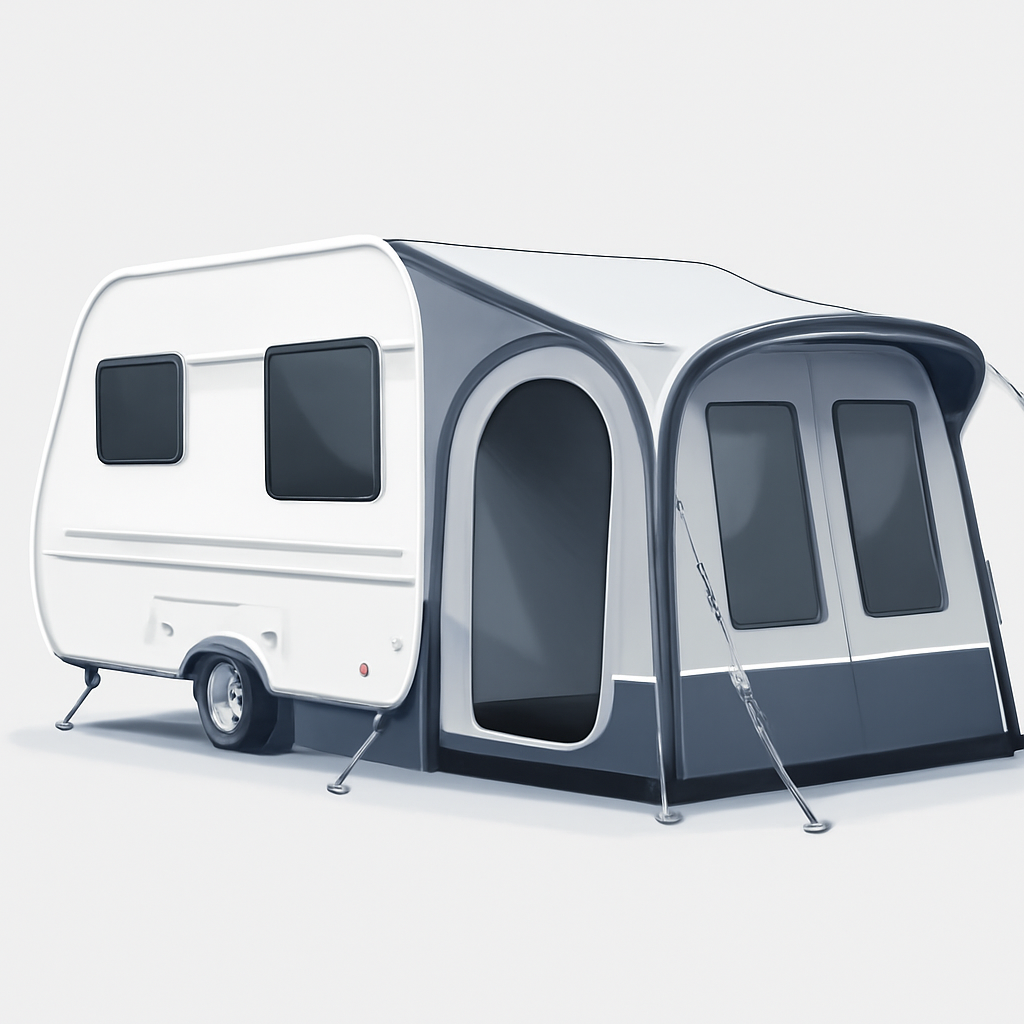
Adding a caravan extension tent expands living space without sacrificing mobility. For family trips, it can create a dedicated sleeping annex, a dining area, or a lounge that feels like a separate room while still linking to your caravan or motorhome. The best choice balances size, durability, and compatibility with your setup.
Key criteria for selection
Assess space needs, weight, and height clearance
Start with a layout plan: how many rooms, where the sleeping area sits, and where a dining or seating zone would go. Measure the footprint you can spare beside the van and consider headroom inside the annex. Weigh the overall package against your vehicle’s payload and roof rack limits; heavy setups demand stronger tie-downs and potentially adjusted luggage distribution. Check height clearance to avoid collisions with garage lids or overhanging branches when fully pitched. For example, a 2.0–2.4 m wide caravan extension tent adds roughly 6–8 m² of living space, depending on door configurations and annex depth.
Evaluate fabric durability, UV resistance, wind rating, and water resistance (hydrostatic head)
Fabric choice matters in all climates. Look for durable polyester or canvas blends with a hydrostatic head of at least 1500–3000 mm for reliable rain protection. UV resistance should be 50+ UPF or equivalent to prevent fabric breakdown after long sun exposure. Wind rating is critical; choose tents tested to withstand gusts in the 40–60 km/h range with robust guying and sleeves. For caravans, consider a weather-ready solution that keeps internal moisture low while resisting mildew in humid campsites.
Consider compatibility with motorhome extension tent fittings
Verify that the extension tent uses fittings aligned with your caravan awning rail or motorhome attachment system. Look for compatible mounting systems, such as hook-and-loop tensioning, integrated poles, or standard annex connectors. If you already own a caravan porch tent or caravan annex, ensure the new model can integrate smoothly with the existing awning for a seamless space transition.
Compatibility and testing
Check caravan model compatibility and mounting system
Before committing, confirm the model-specific compatibility list and available mounting options. Some extensions are designed for particular rail profiles or require adapters. Cross-check with your vehicle’s year, model, and existing awning width to avoid misfits.
Test setup with your own gear or in store
If possible, simulate a real setup using your chairs, table, sleeping bags, and lamps. A hands-on test reveals how easy it is to pitch, how the seams handle tension, and whether the door configuration suits your flow between caravan and annex room.
Review warranty and repair options
A solid warranty covers fabric tears, seam failures, and hardware wear for a reasonable period (often 2–5 years). Check repair turnaround times, availability of replacement panels, and service centers near you. If you rely on the extension for annual trips, a strong warranty saves downtime and frustration.
That groundwork makes setup, installation and maintenance of your extension tent straightforward, ensuring you gain reliable extra space without sacrificing ease of use. When you’re ready to proceed, you’ll be able to plan precise installation, integration with your existing caravan awning, and ongoing maintenance for long-term performance.
Setup, installation and maintenance of your extension tent
A caravan extension tent expands living space without sacrificing mobility. When chosen and cared for correctly, it complements a caravan awning or a motorhome extension tent, providing a comfortable annex room for family trips. The right setup and ongoing maintenance keep seams watertight, zips smooth, and fabrics durable year after year.
How to set up a caravan extension tent
Step-by-step setup and anchoring
- Follow the manufacturer’s step-by-step guide for setup, installation, and anchoring to ensure a secure fit with your caravan awning system.
- Prepare a flat, well-drained site beside the vehicle. Clear stones, roots, and debris to protect the fabric from punctures and to simplify pegging.
- Attach the extension tent’s rail sleeve to the caravan awning rail, using any provided clamps or connectors. Ensure the alignment with doors and annex points before unfolding.
- Unfold gradually, insert poles into sleeves, and snug fabric taut. Start with the corners, then work along edges to avoid sagging.
- Peg down corners with appropriate pegs and add guy lines at 60–90 cm spacing. Angle lines at roughly 45 degrees to resist wind and maintain stable tension.
- If you’re creating an annex room, connect annex panels and zips precisely. Check for smooth door operation and a clean seam between main tent and annex.
- Check drainage and wind protection: ensure the floor slopes away from the caravan and fit a rain skirt where possible to minimize splash entry.
Annex planning and rain/wind protection
- Plan annex room size based on your crew; typical setups add a dedicated living or sleeping area without overcrowding the main space.
- Position doors and windows to optimize airflow while shielding against prevailing winds. Use partitions or carpets to create privacy and comfort.
- Deploy additional guy lines and storm straps in windy conditions; use appropriate pegs for soil type (hard ground may require augers or longer stakes).
- Maintain clear entry points for easy access between the caravan and annex, reducing mud and rain ingress.
Maintenance and care for durability
Regular inspection and care
- After trips, inspect all seams, zips, and fabrics for wear or signs of stress. Address small issues before they grow into leaks or tears.
- Reseal seams where water seepage is evident and lubricate zips with a suitable silicone-based product to keep operation smooth.
Cleaning and storage
- Clean using mild soap and a soft brush; avoid harsh detergents that can degrade fabric coatings. Rinse thoroughly and air-dry completely.
- Store in a cool, dry place away from direct sun. Use a breathable bag or container to protect against moisture and mould.
Seasonal maintenance
- Reproof fabrics and replace worn patches as needed. Check the annex connection points and fix any worn zips or weather seals.
- For long-term storage, separate poles and pegs to prevent metal-on-fabric stress and corrosion. Regularly inspect and refresh any edge protections to extend the life of the caravan extension tent.
caravan extension tent FAQ
A caravan extension tent adds living space and flexibility to your setup, blending a caravan porch tent with the extra room of a caravan annex. Choosing the right model means matching the awning for caravan rail systems, ensuring a durable fabric, and selecting an annex or living area that suits your family trips and travel style.
What is the best caravan extension tent for extra space?
The best option balances depth, stability, and usable area. Look for a durable caravan extension tent with a generous living space and an annex room or clear access to a separate sleeping area. Favor models with reinforced seams, weatherproof fabric, and a sewn-in groundsheet for damp campsites. Ensure the design is compatible with your caravan awning and offers easy connection to the porch tent or an optional caravan annex. For motorhome extension tents, check height and compatibility with your vehicle’s side walls and doors.
Quick tips
- Prioritize models labeled as having an annex room for flexible use.
- Confirm compatibility with your caravan awning rail and door alignment.
How do you install a caravan extension tent?
Begin on level ground with a clear area for pegs and guy lines. Lay a groundsheet if included. Attach the extension to the caravan’s awning channel or through the designated attachment points on the porch tent, then insert and raise the poles. Secure all guy lines, peg the skirt along the base, and ensure doors and zips align with the caravan doors. Double-check seals around the connection to prevent drafts and water ingress.
Quick tips
- Use storm straps and guy lines on windy sites.
- Check zipper alignment before fully sealing the connection.
What maintenance is required to prolong the life of a caravan extension tent?
Routinely dry the fabric after use to prevent mildew, then clean with mild soap and water. Re-proof fabric periodically, especially after heavy rain or sun exposure. Inspect seams, zips, and anchor points for wear and replace worn parts promptly. Store the tent dry in a cool, ventilated area, preferably in its own bag to avoid moisture build-up. After trips, inspect the annex room/porch tent connections and reseal any gaps.
Quick tips
- Air out the tent before storage to avoid musty odors.
- Replace worn guy lines and check pegs after storms.
practical takeaways for smarter space on the move

A well-chosen caravan extension tent turns a fixed caravan footprint into a flexible home on the road. By prioritising durability, ease of setup, and ongoing care, you gain extra sleeping space, a dining area, and secure storage without compromising travel efficiency. The goal is steadiness in all weather, simple installation, and a clear maintenance plan that suits family trips and longer tours.
Key takeaways for durable, space-adding setups
Choose a model with annex room
If extra sleeping space matters, select a caravan extension tent that includes an annex room. Annex space can sleep two to four people when used as a dedicated bedroom, or serve as a privacy zone for dressing and storage. For a family of four, a 3–4 m² annex paired with a 2.0–2.5 m wide porch area can effectively create a separate sleeping nook while keeping the caravan’s interior uncluttered. This choice directly expands usable living space without changing the vehicle.
Consider durable fabric, robust awning system, and weather ratings
Prioritise fabrics such as 150D–300D ripstop polyester or 420D Oxford with a reliable waterproof coating. Look for taped seams and U-pole or alloy frame systems that resist corrosion and flex under wind. A practical hydrostatic head of 3000–6000 mm offers solid protection in typical UK and European climates. Ensure the awning rails and zips are reinforced and that the tent includes sturdy guy lines and pegging points for gusty conditions. A robust awning system translates to fewer mid-trip repairs and longer service life.
Ensure compatibility with your caravan and plan for installation and maintenance
Check alignment with your caravan’s awning channel height, rail length, and the overall footprint. Measure clearance for entry doors, storage boxes, and stabiliser feet to avoid clashes. Plan installation steps: unfolding, securing pegs, tensioning the awning, and attaching the annex door. For maintenance, schedule periodic reproofing and seam sealing, inspect zips and seams after heavy rain, and dry everything thoroughly before packing away.
Planning and maintenance for family trips
Budget for wear and tear and spare parts
Include a dedicated allowance for repairs, zipper replacements, patch kits, and spare guy lines. For frequent family use, set aside 5–10% of travel spend for tent-related maintenance and a small buffer for new annex fabric or weatherproofing treatments. This keeps long trips affordable and reduces the risk of disruption.
Schedule regular inspections before and after trips
Give the caravan extension tent a quick pre-trip check: look for seam wear, zipper smoothness, fabric staining, and frame corrosion. Post-trip, dry the fabric, clean off dirt, reproof if needed, and inspect for any damage that requires repair before the next journey. Regular checks extend life and protect your investment in a durable space-adding setup.