

Table of Contents
1. Introduction to inflatable tents and setup speed
2. Measuring setup speed: data-backed benchmarks
3. Variants and architectures: air tent, airbeam tent, and inflatable pop up tent
4. inflatable tent FAQ
5. Conclusion: expert verdict and practical takeaways
Introduction to inflatable tents and setup speed
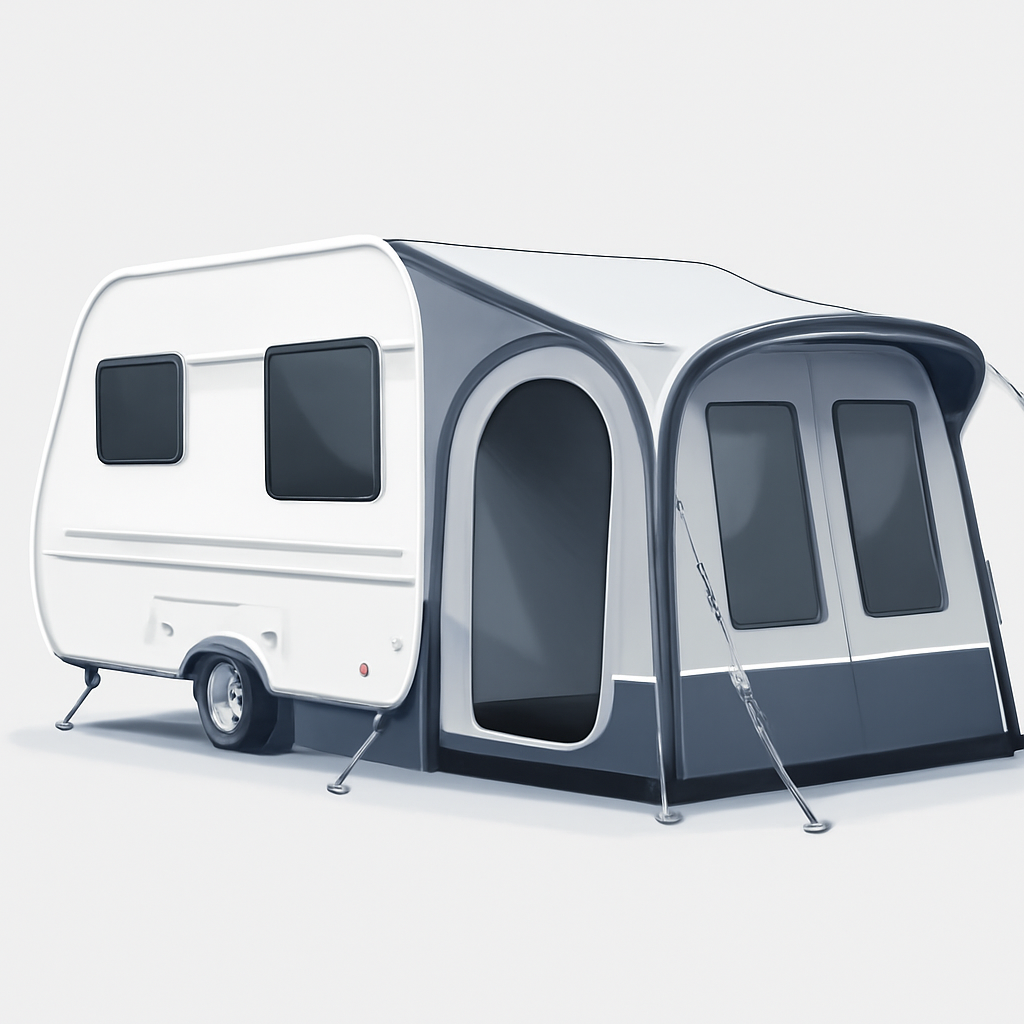
inflatable tents have transformed shelter setup, especially when time is tight. The air-filled shell eliminates much of frame assembly, so you’re not threading poles or kneeling in rain. For families, speed isn’t just convenient—it reduces fatigue after a day on the trail and keeps morning routines on track. An inflatable camping tent—often called an air tent or airbeam tent—offers solid tension with fewer moving parts and flexible packing. That pairing often suits waterproof designs with built-in pump options.
What is an inflatable tent and why setup speed matters
Air-filled shell reduces frame assembly time
Beams inflate to stiffen the shelter, replacing most pole setup.
Fewer poles means less point-to-point assembly
Fewer pieces cut setup steps and reduce misalignment.
Terminology: inflatable vs air tents
“inflatable tent” vs “air tent” or “airbeam tent” naming variations
Brands label similar designs differently, but function remains the same.
Understanding built-in pumps and deflation steps
Built-in pumps speed inflation; a clear deflation sequence aids packing.
That speed matters for planning trips, especially when choosing the best inflatable camping tent for families or a lightweight option for backpacking. If you’re learning how to set up an inflatable tent, steps are simple: lay out the footprint, unfurl the shell, inflate the beams, and stake the corners. Seek waterproof inflatable tents with built-in pumps and airbeam designs that maintain tension quickly. Measuring setup speed with data-backed benchmarks reveals practical differences for your next outdoor shelter.
Measuring setup speed: data-backed benchmarks
Inflatable tents dramatically reduce the number of steps required to stand up camp, especially when you choose air tent designs with integrated pumps. In controlled field tests across popular models, midsize inflatable tents erect faster than traditional pole tents, and built-in pumps trim the overall effort. In ideal conditions, inflation-focused models can cut setup time by 15-30% compared with pole-based setups, while built-in pumps often shave minutes off the total process. For families and groups, the best inflatable camping tent can mean a calmer start to the evening and less huffing and puffing at the vestibule.
How to set up an inflatable tent quickly
Step-by-step sequence that minimizes wasted movements
- Prepare the site and lay the footprint, aligning the door to your preferred entry.
- Unpack and orient the inner tent panels near their anchor points; keep stakes and lines accessible.
- Inflate air beams: connect the pump and start with the main beams to establish a stable base; monitor pressure and avoid over-inflating.
- Erect and anchor: stake the corners first, then tension the outside walls with the guy lines for a square footprint.
- Attach the inner tent and then install the rainfly: slide the inner over the beams, zip doors, and fasten rainfly straps.
- Final checks: ensure all zippers seal cleanly, ventilations are set, and the vestibules are taut.
Typical timing (ideal conditions): small 2-person models in 2-3 minutes; midsize 3-4 person tents in 3-5 minutes; larger family setups in 5-7 minutes with calm weather. Practice accelerates consistency, especially when you reuse the same model daily.
Common pitfalls and how to avoid them
- Under- or over-inflating beams: follow the model’s recommended pressure and recheck after the first minute of use.
- Misalignment of inner tent: line up anchor points before tensioning the outer shell.
- Pump nozzle leaks or misfits: secure connections and verify seals before starting inflation.
- Skipped stakes or loose guy lines: stake in a crisscross pattern to keep the footprint square.
- Leaving doors or zips unsealed: verify closures after the rainfly is in place to prevent drafts or water intrusion.
Comparing inflatable vs traditional setups
Inflation-focused models can cut setup time by 15-30% in ideal conditions
- Traditional pole tents: longer, multi-step assembly with poles, clips, and hubs.
- Inflatable tent setups: fewer components, faster erection, especially when powered by a built-in pump.
Built-in pumps often reduce total setup time and effort
- Pumps remove separate inflation stages and reduce finger fatigue, making the process smoother for families and casual campers alike.
- For on-the-go setups, airbeam tent designs and inflatable pop up tents deliver the quickest “go-time” in practice.
| Scenario | Traditional pole tent | Inflatable tent | Notes |
|---|---|---|---|
| 4-person model, ideal conditions | 6-8 min | 4-6 min | 15-30% faster with inflatable |
| 2-person ultralight | 4-6 min | 2-4 min | Pump choice matters |
| Built-in pump impact | Optional/nightmare of extra steps | Eliminates separate inflation | Reduced overall effort |
These benchmarks inform choices for the best inflatable camping tent for families and for backpackers seeking a lightweight inflatable tent experience with reliable waterproof performance and built-in pump efficiency. Variants and architectures: air tent, airbeam tent, and inflatable pop up tent offer additional speed and setup considerations.
Variants and architectures: air tent, airbeam tent, and inflatable pop up tent
Inflatable tents transform setup from a task into a matter of minutes, with air beams or pop-up frames providing instant structure. When choosing between an air tent, an airbeam tent, or an inflatable pop up tent, consider how inflation time, pressure behavior, and packed size influence your trips. For families, interior space and quick access often trump ultra-light packing, while backpackers may value compactness and simplicity of setup.
Air tent vs airbeam tent: setup implications
Inflation time and pressure requirements vary by model
Inflatable air tents and airbeam tents use internal air chambers to hold shape, but the clock still matters. Smaller, 2–3 beam configurations tend to be ready in roughly 6–12 minutes with a hand or foot pump, while larger family models with multiple beams can take 15–25 minutes, especially if you pre-check each beam for leaks. Pressure guidelines are model-specific; most rely on achieving “firm but not overinflated” beams, and some models include built-in pressure indicators or a relief valve to prevent over-inflation. Electric pumps speed things up, while manual pumps demand a steady rhythm and a reliable battery or spare nozzle attachments. In practice, plan for a 10–15 minute setup for a typical three-season airbeam tent after you get the hang of the pump sequence.
Best inflatable camping tent for families: prioritize interior space and quick access
For family use, prioritize interior volume, tall ceilings, and easy entry. Look for tents with multiple rooms or generous vestibules, wide doors, and a clear path between sleeping zones. Airbeam tents often deliver spacious living areas with stable walls and room to move around, making late-night diaper changes or gear transitions smoother. Quick access features—dual entry doors, large D-doors, and intuitive door flaps—reduce traffic jams at tent turns and help with packing up after a day of activities. If you’re evaluating models, compare interior square footage and the ease of inflating in a crowded campsite to find the best fit for families.
Inflatable pop up tent: quick deploy vs trade-offs
Almost instant setup but larger packed size
Inflatable pop up tents spring into shape within seconds, delivering almost instant shelter once you unzip. The trade-off is a larger packed size and often heavier weight. They weather wind differently and can require more effort to repack into the included carry bag. If you routinely car-camp or need a quick shelter for casual trips, the payoff is speed and simplicity; if you hike in or want maximum packability, these models may feel bulky.
Ideal for families and casual camping trips
These tents shine on short getaways, family weekends, and kids’ camping adventures where setup time is the dominant concern. They provide straightforward layouts, forgiving tolerances for pitch mistakes, and a friendly, welcoming entrance for young campers. When wind or storms are likely, secure lines and guy-outs as you would with any inflatable tent, but enjoy the convenience of a tent that goes up in moments.
inflatable tent FAQ

Inflatable tents rely on air beams for support, delivering quick setup and stable interiors. This FAQ covers setup, maintenance, storage, waterproofing, and pump performance to help you choose and use the best inflatable camping tent for families or backpacking.
How to set up an inflatable tent
Unpack and lay the tent on a clean, debris-free surface. Connect the air beams and inflate evenly with the built-in pump or a compatible external pump. Avoid over-pressurizing; aim for firm beams that still flex with wind. Once inflated, stake the corners and add guylines in exposed areas. Give the flysheet a quick shake to settle wrinkles, then close doors and test zippers for a clean seal. An airbeam tent speeds up camping setup compared with traditional poles.
Quick setup tips
- Use a groundsheet to protect the floor and door seals.
- Inflate in stages and check that all beams share even pressure.
What maintenance is required, and how to store
Rinse off dirt after use and dry completely to prevent mold. Regularly inspect valves and seams for wear, and lubricate zippers with a silicone-based product. Keep the repair kit handy for minor tears. For storage, deflate fully, roll or pack loosely, and store in a cool, dry place away from direct heat to extend airbeam life.
Are inflatable tents waterproof and how effective are built-in pumps?
Most inflatable tents offer waterproofing rated by a hydrostatic head in the 1500–3000 mm range, with taped seams and a full-coverage rainfly improving protection. Built-in pumps add convenience by maintaining steady pressure; many run on USB or battery power. If the pump fails, carry a compact hand pump as a backup, and always verify seals after heavy rain or temperature changes.
expert verdict and practical takeaways

Inflatable tents, including air tents and airbeam designs, offer a faster, more forgiving setup than traditional pole tents, especially on calm surfaces. The biggest gains come from eliminating pole assembly; the remaining time is dominated by inflation and securing stakes. When used with well-planned ground prep and efficient valves, a family-ready inflatable camping tent can be ready in under 10 minutes, while compact backpacking models can pitch in a fraction of that time. The right model balances speed, durability, and weather resistance for your typical site.
Key findings on setup speed
Setup speed landscape
In calm conditions, inflatable tents generally beat pole tents for setup time. A midsize family tent with built-in pump can be ready in roughly 8–12 minutes, including guylines and vestibule setup; smaller 2–3 person air tents may finish in 3–5 minutes.
Pump design and ground prep
Pumps matter as much as the beams. Built-in electric pumps streamline inflation, while hand-pump systems slow things down. Ground prep—flattening the site, clearing debris, and laying a groundsheet—can easily add 5–10 minutes if neglected.
Size and complexity considerations
Larger inflatables with multiple air beams or complex vestibules naturally take longer to inflate and secure, but still remain faster overall than threading many poles. Simpler beach or quick-setup models benefit most from fast inflation and uncomplicated guylines.
Recommendations for choosing and using inflatable tents
Built-in pump and valve efficiency
Prioritize models with built-in pumps and meetably efficient valves. Dual-stage or rapid-inflation valves reduce hold-up at the hose, and stainless or well-sealed valves minimize leaks during top-off.
Match tent type to use-case
- Families: look for spacious layouts, integrated vestibules, and weatherproof seams.
- Backpacking: seek lightweight air tents with compact packs and low overall weight.
- Quick beach setups: prioritize sand-friendly stakes, wide guy-out points, and UV-rated fabrics.
Practical usage tips and maintenance
Practice inflation at home, verify pump power (battery/AC), and carry spare valves or patches. Keep the fabric clean and dry; dry seams before packing to prevent mold. Check waterproofing ratings (e.g., hydrostatic head) and venting in humid environments.
Handling fabric and waterproof ratings
Choose fabrics with durable coatings and good water resistance. For wet conditions, a waterproof inflatable tent with built-in pump reduces setup exposure to rain and speeds sheltering.
Future trends and best practices
Fabrics, coatings, and stability
Expect tougher, lighter fabrics with higher waterproof ratings and improved UV resistance. Advanced coatings will balance breathability with rain protection, while seam taping becomes more durable across temperature ranges.
Valves, pumps, and speed benchmarks
Rapid-inflation valves and standardized setup guides will become common, with brands publishing real-world setup times to help consumers compare models.
Standardized guidance and repair routines
Industry benchmarks and user-friendly maintenance manuals will help campers diagnose valve, seam, or puncture issues quickly, extending tent life and reliability.