

Table of Contents
1. Introduction to inflatable tents for families
2. Choosing the best inflatable tent for families
3. Best inflatable tents for families
4. inflatable tent FAQ
5. Conclusion and takeaways
Introduction to inflatable tents for families
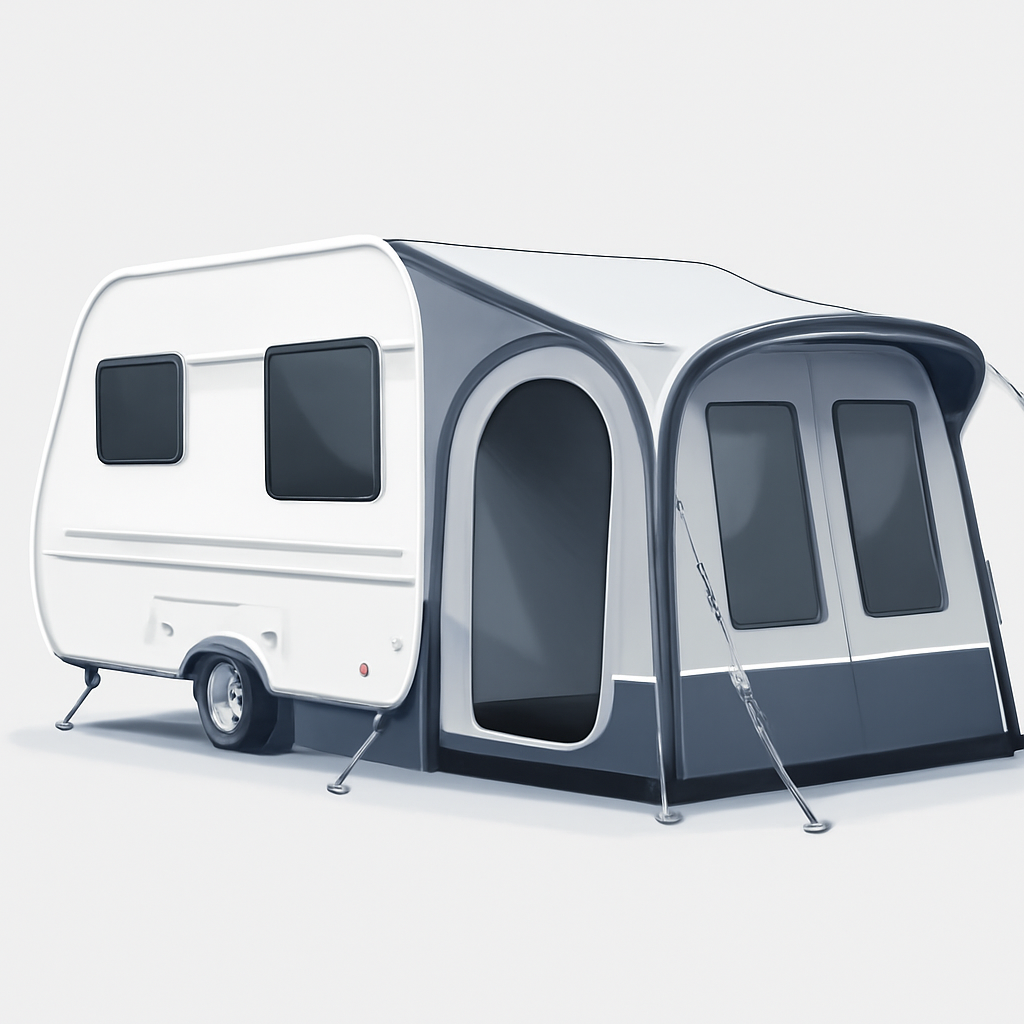
inflatable tents, including the inflatable camping tent and other air tent designs, replace rigid poles with air beams to speed setup and reduce pinch points. A true blow up tent relies on durable fabrics and multiple internal air chambers to hold shape and comfort, making it easy to inflate tent and pitch with kids nearby. For families, the goal is shelter that goes up fast, resists wind, and offers flexible room layouts for sleeping, storage, and downtime around the campfire.
What is an inflatable tent and how it works
Air beams replace rigid poles for faster setup and fewer pinch points
Air beams inflate quickly, removing pole-assembly steps and cutting pinch points around corners. The result is a faster pitch and less frustration when kids offer help.
Materials and internal air chambers determine stability and comfort
Strong fabrics and reinforced seams, plus multiple internal air chambers, keep the tent taut and distribute pressure for steadier sleep.
Why families prefer air tents over traditional pole tents
Quicker setup reduces fatigue on kids and adults
A typical family trip benefits from a 5–10 minute inflate-and-secure process versus hours spent threading poles, which lowers stress for everyone.
More interior space and flexible room configurations
Higher ceilings, bigger vestibules, and modular partitions support separate sleeping zones and a roomy living area, important when you compare models with built-in pumps, weight, and waterproof seams.
Choosing the best inflatable tent for families
A well-chosen inflatable tent makes family camping easier, safer, and more enjoyable. This air tent approach simplifies setup, delivers stable structures, and supports flexible layouts for kids and gear. When you pick the best inflatable tent for families, you’re blending quick inflation with durable seams, smart sizing, and weather-ready performance.
Key features: pump options, durability, and seams
Inflatable tent with built-in pump vs external pumps: pros and cons
- Built-in pump: Pros—one-device setup, minimal gear to carry, and faster inflation, which helps when time is tight. Cons—adds weight, higher price, and potential battery or mechanical limits if you use an electric option.
- External pumps: Pros—cost-effective, flexible pumping choices (hand, foot, or electric), and easier replacement if a pump fails. Cons—requires extra gear and more time to inflate all chambers.
Durable seams and easy to inflate tent design for quick setup
- Durable seams: Look for double-stitched or taped seams on air-beams and body fabric to minimize leaks in active family use.
- Easy-to-inflate design: Favor models with larger inflation ports and evenly distributed air channels to prevent under- or over-inflation.
- Quiet operation: A quiet inflatable tent with durable seams helps keep setup less stressful and more reliable over multiple camping trips.
Size, weight, and layout considerations for families
Number of bedrooms or rooms and vestibule space
- For a family of four, a two-bedroom layout with a central living area and a large front vestibule offers separation for kids and room to store gear.
- For six, a three-bedroom arrangement with two vestibules can work, but anticipate higher weight and a larger pack.
Pack size, weight, and vehicle compatibility
- Pack size: Many family air tents compress into roughly a 60–75 cm bag, which fits easily in most trunks or roof racks.
- Weight and vehicle compatibility: Heavier models (roughly 15–25+ kg) perform best with larger vehicles or SUVs; check clearances, especially when driving and parking in tight spaces.
Weather performance and reliability
Waterproof rating, rainfly coverage, and venting
- Waterproof rating: Aim for 3000 mm water column or higher, with taped seams for reliable wet-weather use.
- Rainfly coverage: Full-coverage rainflies that reach the ground minimize water intrusion; ensure multiple vents for cross-ventilation to reduce condensation.
Wind stability: anchor points, guy lines, and frame rigidity
- Anchor points and guy lines: Use at least four corners plus two or more guy lines per side in exposed sites; sturdy stakes help prevent tipping.
- Frame rigidity: Air-beam design provides a solid structure, but wind protection comes from proper staking, guying, and realistic site selection.
This framework makes it easier to compare models and find the best inflatable camping tent for families that balances quick setup, durable seams, and thoughtful layouts. When you’re ready to narrow your choices, focus on models that deliver the best blend of space, packability, and weather protection for family trips.
Best inflatable tents for families

Family camping benefits from rapid setup, defined sleeping zones, and quiet operation. Inflatable tents—also called air tents or blow up tents—deliver consistent frame tension with fewer poles, making rooms feel larger and floors more even. These models combine easy inflation with durable seams and practical layouts, so the whole family enjoys more time outside and less time wrestling with gear.
Best inflatable camping tent for families
Room layout and privacy
Choose models with multiple rooms or internal dividers to create separate sleeping zones. A true 2- to 3-room air tent lets parents retreat to a quieter corner while kids play or read in another area, reducing nighttime disturbances. Look for clear inner doors and ceiling heights around 6.5–7 feet to keep the space feeling open.
Noise, seams, and durability
Airframes generally run smoother and quieter than traditional pole systems, which helps at night. Prioritize tents with fully taped seams, reinforced corners, and a robust groundsheet to repel damp ground. If available, a built-in or easily attached pump makes the setup easy, turning “blow up tent” into an effortless one-stop job.
Lightweight inflatable tent for hiking with kids
Low packed weight and compact carry size
For hiking with kids, target a lightweight inflatable option under about 7 kg (15 lb) and a compact packed size that fits a daypack or the top of a small backpack. When space is tight, a 2–3 door design helps separate gear from sleeping areas without adding bulk. Look for models that compress into a tight bundle around 40×20 cm.
Strong weather resistance without excessive bulk
A good hiking inflatable tent balances weatherproofing with portability. Seek 2- or 3-season fabrics with a reliable rainfly, sturdy guy lines, and a flooring layer that resists punctures. Prioritize easy inflation and deflation so kids can participate in the process without delaying the trip.
Waterproof inflatable tent for camping trips
High waterproof rating and sealed seams
Waterproof performance starts with a high hydrostatic head and sealed seams. Aim for at least 2000 mm, with many family models offering 3000–5000 mm. A durable DWR treatment on the fly fabric helps shed rain before it reaches seams.
Full coverage rainfly and vestibules for gear protection
A full-coverage rainfly that extends to the ground reduces wall wetting during downpours. Vestibules provide dry storage for boots and packs, keeping the sleeping zone clean and warm. This combination minimizes gear moisture and maintains comfortable interior temps on stormy nights.
inflatable tent FAQ

Inflatable tents simplify setup by using air-filled beams instead of poles. They span a range from lightweight inflatable tent for hiking to the best inflatable camping tent for families. Options with an inflatable tent with built-in pump speed up pitching and reduce strain after a long day. Look for waterproof inflatable tent for camping trips and quiet inflatable tent with durable seams to minimize disruption at dawn.
What is an inflatable tent?
An inflatable tent relies on air beams that form the frame. When inflated, the beams support the roof and walls, while you attach the inner tent and secure corners with stakes. This design minimizes metal parts and lowers the risk of bent poles on rocky campsites.
Quick setup tips
- Lay the footprint flat and locate valves before inflating.
- Inflate gradually, then seal valves and stake the corners.
How do you inflate an inflatable tent quickly?
To speed things up, start with a flat surface and peg the corners first. If the tent has a built-in pump, use it; otherwise, a high-output hand pump works well. Stop when the beams feel firm but not overinflated to avoid stressing fabric.
Quick inflation tips
- Use the built-in pump for speed when available.
- Don’t overfill; monitor the gauge and keep pressure even.
Are inflatable tents durable in windy conditions?
With proper staking and guy lines, inflatable tents can be stable in gusty weather. Choose models with durable seams, reinforced fabrics, and robust pegs to maximize resilience.
Windproofing tips
- Always use all guy lines and sturdy stakes.
- Recheck inflation after strong gusts and adjust as needed.
Conclusion and takeaways
Inflatable tents—whether marketed as an inflatable camping tent, air tent, or blow up tent—combine quick setup with durable seams and strong weather sealing. For families, a model that balances ease of inflation with living space is worth the extra weight. For hikers, lighter options with reliable waterproofing still deliver comfort after a long day outdoors. Use these takeaways to steer your final choice toward a model that fits your trips, budget, and carrying preferences.
Key takeaways for choosing an inflatable tent
Balance built-in pump options with weight and cost
Built-in pumps speed setup and reduce the risk of misinflation, but they add weight and price. If you frequently camp with kids or in windy sites, a tent with an integrated pump that activates multiple air beams can shave minutes off setup and maintain consistent pressure. For solo hikers or minimalist squads, a lightweight air tent with a compact pump or even a high-efficiency manual pump can save several pounds without sacrificing reliability. In practice, compare models by packed weight and pump type, then weigh the convenience against your carry load and budget.
Prioritize waterproofing and durable seams for family trips
Waterproof inflatable tents shine when rain is common. Look for a formal waterproof rating (2000 mm+ for regular downpours in exposed sites), fully taped seams, and double-stitched reinforcement at stress points. For family use, inspect the floor material and seam geometry around doorways and vestibules. Durable zippers with storm flaps and well-sealed inner linings keep moisture out and interiors dry, even during misty mornings or sudden downpours.
Practical steps to finalize your purchase
Compare models using size, weight, and features
Create a short comparison table to reflect practical needs:
| Model | Size (people) | Pack weight | Pump type | Waterproof rating | Notable features |
|---|---|---|---|---|---|
| Model A | 4-6 | 10-15 kg | Built-in | 3000 mm | Removable flysheet, quick-release clips |
| Model B | 6-8 | 12-18 kg | Manual/roof pump | 2000 mm | Spacious vestibules, durable seams |
Prioritize living space for families and compact packs for hikers; ensure the features align with typical trip conditions.
Check warranty, support, and repair options
Verify warranty length (ideally 2–3 years for components and seams), what is covered, and the repair network. Confirm access to spare parts, patch kits, and service centers. If you’re buying a higher-end air tent, ask about replacement beams or panels and turnaround times for repairs in your region.
Final checklist and maintenance
Test setup at home to verify ease of use
Unpack in a clear area, lay out every component, and inflate as you would in the field. Note the time to reach full pressure, ease of beam alignment, and how smoothly the pump operates. Practice takedown to confirm the packed size fits your backpack or vehicle storage. This hands-on test helps validate the claim of “easy to inflate tent” before you commit.
Inspect seams and air beams after setup and on return from trips
After setup, inspect all seams for bubbling or delamination and listen for any air leaks in beams. Post-trip, check for any punctures or abrasion along the outer shell, and reseal seams with the included patches or manufacturer-recommended sealant. Regular maintenance ensures your inflatable tent remains waterproof and ready for the next adventure.