

Table of Contents
1. Data-Driven Guide to the quick setup tent: Speed and Stability
2. Core design patterns for fast setup tents
3. Practical pitching techniques and best practices
4. quick setup tent FAQ
5. Conclusion: speed, stability, and data-driven decisions
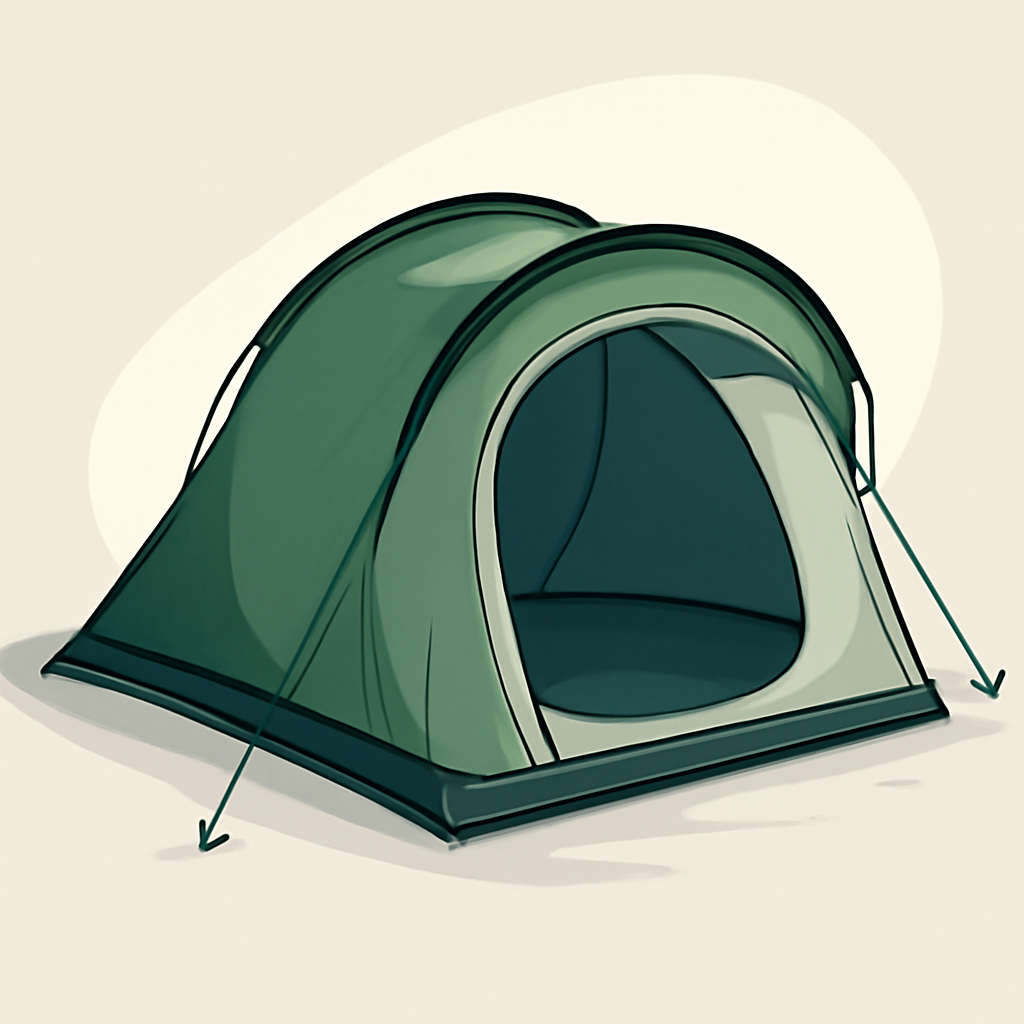
Data-Driven Guide to the quick setup tent: Speed and Stability
Speed and stability drive safety and comfort in a quick setup tent. In bad weather or crowded camps, fast tent setup reduces exposure to wind, rain, and insects, letting you shelter quickly and start meals or rest sooner. A planned sequence also lowers fatigue, especially on cold nights. The best approach blends proven tactics with gear choices—from pop up tents to traditional frames—for a stable base in minutes, including tips on how to set up a tent quickly.
Why speed and stability matter in camping
Faster setup reduces exposure to weather and insects.
Faster setup reduces outdoor time, cutting wind exposure and insect bites.
Improved safety and comfort during setup, especially in wind or cold.
Stability reduces slips and drafts, making pole alignment and staking safer.
Key data-driven factors influencing setup time
Pole systems and hub mechanisms trim assembly time.
Efficient hub designs minimize steps and misalignment during deployment.
Staking and tensioning routines secure stability efficiently.
Smart tensioning anchors stabilize the shelter with minimal effort.
These data-driven factors speed deployment while preserving stability, guiding you to choose pole systems, hub mechanisms, and staking routines that work in concert. With the right configuration, you get a reliable shelter in minutes—the core design patterns for fast setup tents that campers rely on.
Core design patterns for fast setup tents

Speed in camping shelter design comes from choices that reduce steps, align components instantly, and let you trust the structure as you pitch. For a quick setup tent, the emphasis is on intuitive pole systems, stable tensioning, and friction-free fabrics that don’t snag or slow you down. These core design patterns translate into practical advantages: shorter setup times, fewer fiddly moments, and more time enjoying the campsite. Expect a quick setup tent to move from bag to sheltered in minutes, even in breezy conditions, when you follow proven deployment patterns.
Pole and frame technologies that speed deployment
Details
- Split-pole designs and color-coded joints enable rapid, error-free assembly.
- Pop-up frames with quick-release latches reduce setup mental load and time.
- Integrated hubs and pre-attached sections minimize steps, helping a solo camper pitch in under a minute with the right sequence.
Tensioning and staking protocols for stability
Details
- Pre-marked stake points and adjustable guylines speed alignment and symmetry.
- One-handed tensioning methods maintain even tension without stepping away from the tent.
- Quick-stow stakes and integrated guylines minimize wobble, keeping the shelter secure in gusts while you finalize the guy-line points.
Material choices that reduce setup friction
Details
- Lightweight, snag-free fabrics and reinforced corners shorten the pitch time and reduce snagging on the groundsheet.
- Silicone-coated linings and smooth zipper tracks facilitate fast tent assembly and easy fabric management.
- Low-friction groundsheet edges and color-matched seams diminish resistance as you lay out and secure the tent.
The approach across these patterns is practical: you want reliable, repeatable cues that you can execute by feel. For example, a popular best quick setup tent combines color-coded poles, a central hub, and one-handed tensioning straps that snap into place—cutting setup time by a full minute or more compared to traditional pole systems. In real-world use, campers report completing a solo pitch in as little as 2–3 minutes with experience, and even faster with a partner and a familiar layout. Pairing these design choices with disciplined setup steps makes the difference between a rushed, error-prone pitch and a smooth, repeatable process.
Transitioning to practical pitching techniques and best practices will help you convert these design patterns into consistent, reliable results on every trip. The right technique, applied to the right tent, unlocks dependable speed when every minute counts.
Practical pitching techniques and best practices

Efficient pitching changes the whole camping experience. With practice, a quick setup tent becomes second nature, shaving minutes off each campout and reducing frustration in windy or damp conditions. Use these proven sequences to master fast assembly, whether you’re working with a traditional dome, a pop up tent setup, or a straightforward cabin style. Expect to cut typical setup times from 5–10 minutes down to 1–2 minutes for a seasoned crew, and even faster solo.
Step-by-step quick pitch sequence
- #### Unpack, lay out, and pre-mark stake locations to reduce back-and-forth; follow the sequence for how to assemble a tent in minutes.
– Unfold and spread the tent body flat, identifying corners and the door side first. Lightly shake out the fabric to prevent snags, then mark stake locations with small spray or cord to keep everyone aligned.
– If you’re using a pop up tent setup, gently release the frame and let the structure settle, then verify corner alignment before staking.
- #### Assemble frame or open the structure, then stake corners in a star pattern for even tension.
– For a standard frame, connect poles as you guide them into sleeves or clips, then stand the structure upright. For a pop up, fully unfurl and allow the hubs to engage before staking.
– Stake corners first in a star pattern (north, south, east, west) to pull the fabric taut evenly, minimizing sag at the door and vestibules.
- #### Recheck alignment and tension on guylines, adjust stakes as needed.
– Tighten primary stakes first, then tighten guylines to remove slack without over-stressing fabric seams. Confirm door zippers operate smoothly and vestibules are correctly oriented.
Environment-aware pitching strategies
- #### Assess wind direction, ground conditions, and slope before setup.
– Choose a level, debris-free patch away from sharp rocks. If wind is cross-flow, orient the door away from the gusts to reduce flapping and fatigue on guylines.
- #### Choose the tent orientation to minimize flapping and adjust guy lines accordingly.
– Point the narrow end into the wind, angle guylines slightly downward on the windward side, and use longer stakes on exposed edges. In uneven terrain, use a foam pad or footprint to create a stable base.
Maintaining stability in adverse conditions
- #### Pre-staged stakes and extra guylines in wind-prone sites.
– Carry a small stake kit and an extra set of guylines for rapid reinforcement. Pre-loop guylines in a pocket so you don’t scramble to find them in gusts.
- #### Quick checks of tension after first gusts to ensure safety.
– After the initial gust, re-tighten corners and adjust guy lines. if the wind increases, add tension gradually and avoid over-stretching fabric, which can damage seams. For quick setup tents in challenging weather, this routine keeps you confident and secure.
quick setup tent FAQ
A quick setup tent lets you move from dusk to shelter quickly, without sacrificing stability. With the right design and a practiced routine, you can achieve easy tent setup and fast tent assembly even in less-than-ideal conditions. The following answers tackle practical speed-focused questions.
What is the fastest way to set up a tent?
Choose a freestanding tent with a hub-and-pole system and color-coded sections for a true quick setup tent. Start on a flat, clear site and stake the corners to secure the base. Assemble the poles and snap them into the hubs, then lift the body and secure the remaining stakes. Tighten the guy lines as needed and attach the rainfly. If you’re using a pop up tent setup, simply deploy and let the frame lock into place, then adjust the pegs and guylines.
Which tents are best for quick setup?
Look for models designed for easy tent setup: pop-up tents, instant-up or quick pitch tents, and hub-and-pole designs with freestanding frames. Features to favor include color-coded poles, pre-attached guylines, and a compact footprint. For camping efficiency, these characteristics translate into faster assembly, fewer fiddly steps, and reliable stability in windy conditions.
How do I assemble a tent in minutes?
1) Clear a flat camping spot and lay the groundsheet or footprint. 2) Stake the four corners to anchor the base. 3) Assemble the poles and connect to the hubs, then lift the tent body. 4) Stake the remaining pegs and tighten guy lines. 5) Attach the rainfly last for weather protection. Practice at home to shave seconds off each step.
speed, stability, and data-driven decisions
Speed is valuable, but it must be paired with stability and repeatability. When selecting and using a quick setup tent, the fastest pitch only pays off if the structure holds its shape under load and can be replicated across trips and conditions. The most dependable approach blends disciplined pole-system handling, intentional orientation, and a repeatable tensioning sequence. Pair this with systematic practice and real-world data to compare models and refine your routine. This mindset aligns with easy tent setup, quick pitch tent routines, and the broader goal of a simple camping tent setup that performs when it matters most.
Key takeaways for future-ready setup
Prioritize pole-system compatibility, orientation, and tensioning sequences.
Choose a tent whose pole system integrates smoothly with your pack and frame geometry. Favor color-coded poles, clear hub connections, and sleeve-free assemblies that reduce fumbling during setup. Orientation matters: position the door and vestibules to face favorable wind and sun exposure, and orient the tent away from common splash zones on your site. Establish a repeatable tensioning sequence: stake the corners first, then secure midpoints, and finish with guy lines. A consistent order minimizes misalignment and speeds up the process, whether you’re deploying a quick setup tent after a long day or assembling a pop up tent setup in a backcountry bivy.
Practice the standard pitch under varying conditions to reduce setup time and increase reliability.
Schedule deliberate practice sessions that start with calm conditions and progress to moderate wind, uneven ground, and partial shade. Record time-to-pitch from unboxing to fully taut, note any adjustments needed for pitch or guylines, and identify bottlenecks (like pole snag or vestibule misalignment). Repetition builds muscle memory, so you can assemble a tent in minutes even when tired or cold. Use a simple checklist you can recall by sight: frame assembly, orientation check, corner stakes, midpoints, final guylines, and tarp/groundsheet alignment. This training translates into smoother experiences with the best quick setup tents for camping.
Applying data-driven insights to real-world testing and selection
Use time-to-pitch metrics and stability benchmarks to compare tents like the best quick setup tents for camping.
Quantify performance with time-to-pitch recordings across models and conditions. Pair this with stability benchmarks—measured sway, peak deflection, and stake retention under gusts—so you can separate genuinely fast setups from fragile designs. For example, a top-performing quick setup tent should consistently pitch within 3-5 minutes on calm ground and maintain tautness under 20 mph winds. Use these data points to create a side-by-side comparison that guides purchases and field testing.
Incorporate user feedback and field data to refine your setup routine and gear choices.
Collect field notes from fellow campers, hikers, and families about ease of use, zipper reliability, and vestibule practicality. Translate insights into routine tweaks, such as a preferred stake type for different soils, or a minor adjustment to the tensioning sequence for tropical versus arid environments. Integrate this feedback with your time-to-pitch and stability data to narrow your gear list and fine-tune your setup ritual, ensuring repeatable fast setup outcomes without sacrificing shelter quality.